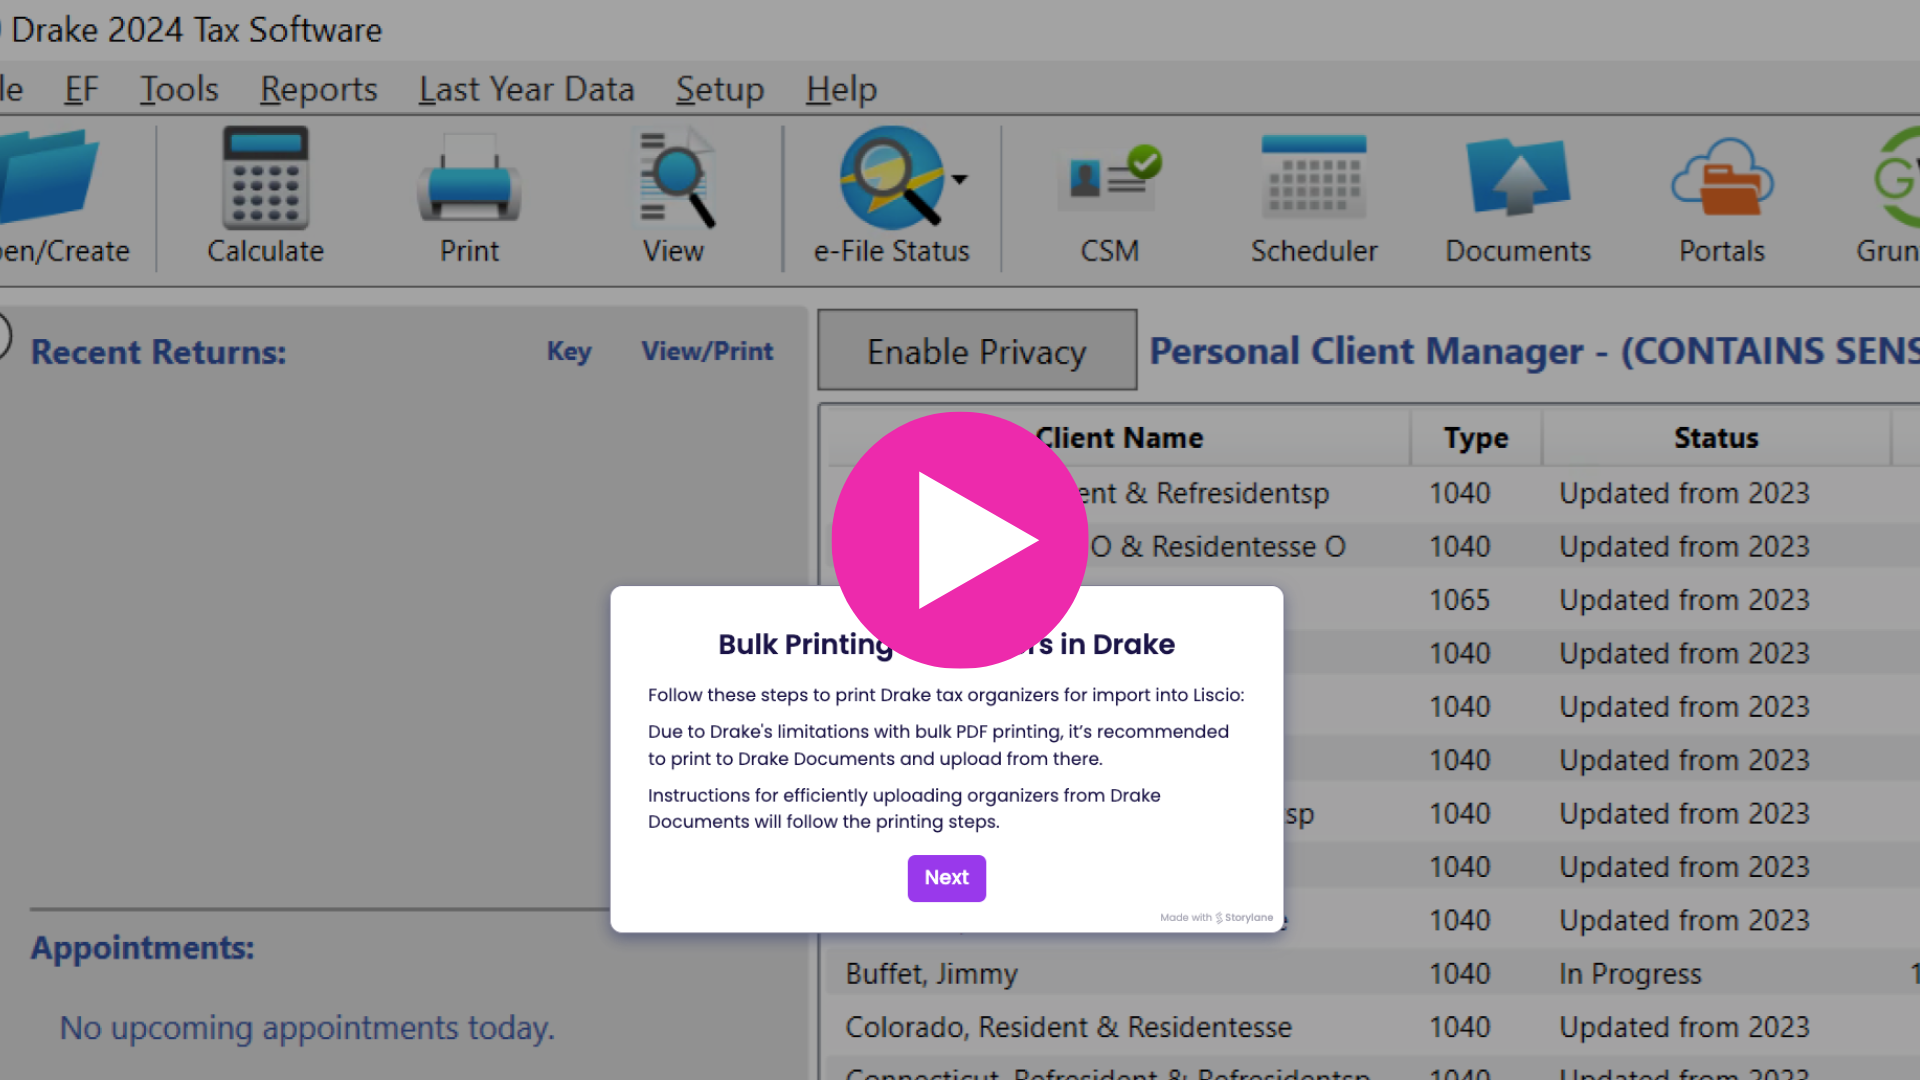
Bulk Printing Organizers from Drake
Important Notes Before Printing
- Page Limit for Pre-Organizer Content: The pages preceding the first page of the organizer (e.g., client demographic/personal information page) should not exceed 25 pages. This includes the cover letter, inserts (such as questionnaires), and engagement letters.
- Printing Restriction: Due to Drake's limitations with bulk PDF printing, it’s recommended to print to Drake Documents and upload from there. Instructions for efficiently uploading organizers from Drake Documents will follow the printing steps.
- Organizer Options: Only Standard Organizers are supported. Comprehensive organizers will not process when imported.
- Auto-Matching Organizers to Clients:
- Taxpayer Email Address: The email address listed in the organizer must match the Primary Email Address associated with the client in Liscio
Printing Organizers from Drake
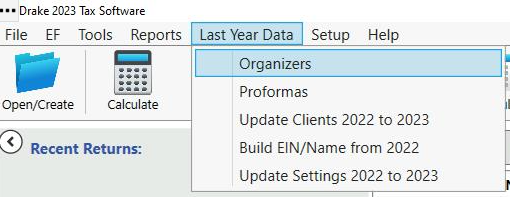
- From the Home window of Drake, click Last Year Data > Organizers.
- Click OK to Envelope Slip Sheet and/or Referral Coupon popup.
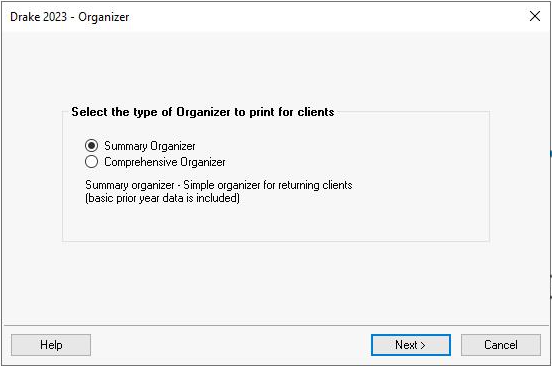
- Select the Summary* organizer.
- *Comprehensive is not supported. If Comprehensive is imported into Liscio it will not process due to pages printing horizontally (landscape) instead of vertically (portrait).
- Select Next on the Organizer Client Selection screen.
- Click Next on the Organizer Filter Selection screen.
- Uncheck All return types, select Individual (1040).
- You can further filter the client list with the Return Result, Activity, & Preparer and Firm options, if desired.
- Click Continue.
- You can select Additional Proforma/Organizer Options as needed. To make changes to the organizers, choose Custom Editor or Form Options, as needed.
- Click Process 1040.
- Ensure "Send documents to Printer" is unchecked.
- Select Save PDF copies of documents to Drake Documents.
- Ensure the three options directly under are unselected.
- Click Print.
- Click Exit.
Importing Organizers into Liscio from Drake Documents
- From the Home window of Drake, click Documents.
- After the Drake Documents window opens, navigate to the Liscio > Requests Page > Import.
- Arrange the windows side-by-side on the same screen or across two monitors, based on your setup.

- Select the first client folder in Drake Documents.
- Click and hold the left mouse button on the Tax Organizer PDF file.
- Drag the file to the Smart Tax Organizers box in your web browser and release the mouse button.
- Select the next client and repeat the click-hold-drag process.
- Once all organizers (up to 100) have been added, click Begin Upload.
- If you have more than 100 organizers, start the upload after the first batch, then open a new Import screen for the next batch.
Contact Us
Related Articles
Bulk Printing Organizers from Lacerte
Important Notes Before Printing Page Limit for Pre-Organizer Content: The pages preceding the first page of the organizer (e.g., client demographic/personal information page) should not exceed 25 pages. This includes the cover letter, inserts (such ...
Bulk Printing Organizers from CCH
Important Notes Before Printing Page Limit for Pre-Organizer Content: The pages preceding the first page of the organizer (e.g., client demographic/personal information page) should not exceed 25 pages. This includes the cover letter, inserts (such ...
Bulk Printing Organizers from Intuit ProSeries
Important Notes Before Printing Organizer Options: Only Full Organizers are supported. Short Organizers will not process when imported. Page Limit for Pre-Organizer Content: The pages preceding the first page of the organizer (e.g., client ...
Bulk Printing Organizers from UltraTax
Important Notes Before Printing Page Limit for Pre-Organizer Content: The pages preceding the first page of the organizer (e.g., client demographic/personal information page) should not exceed 25 pages. This includes the cover letter, inserts (such ...
Printing Tax Returns from Drake
Important Notes Supported Tax Returns Support: Federal and all State 1040 tax returns. Not supported: Locality, state-only filings, and US-1040-NR. Only long-form 1040 returns are supported (1040EZ and 1040A are not). Learn more here. Required Forms ...