SmartVault Integration
SmartVault Integration
The SmartVault integration allows Firm users to both import and export files directly from SmartVault (an internal Document Management System, or DMS) to Liscio.
With the SmartVault Integration you can:
- Attach SmartVault files directly to Messages, Tasks, Requests, and eDocs in Liscio
- Export Files from the Liscio Vault directly into SmartVault
- Link client Accounts between SmartVault and Liscio for faster document exchange
Connecting SmartVault to Liscio:
1. Locate your profile on the lower-left corner of your navigation page.
2. Click Third-party Apps in the upper tabs.
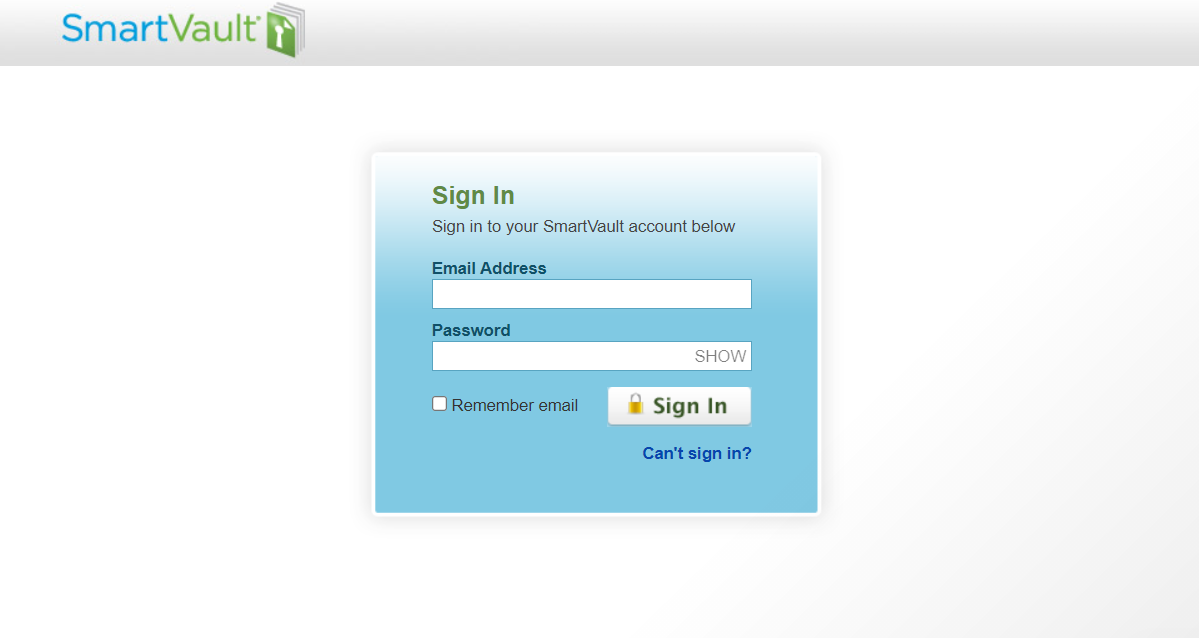
3. Click Connect in the SmartVault box to authenticate your SmartVault account. Sign in with your SmartVault credentials:

4. Once you have entered your SmartVault login, a PIN will be generated. Copy and paste the PIN into the underlying pop-up, along with your email address.
5. Click Proceed
.
.
Note:
If you have previously connected and want to take advantage of the Account Linking feature, you should disconnect and reconnect using the instructions above.
If you have previously connected and want to take advantage of the Account Linking feature, you should disconnect and reconnect using the instructions above.
Linking Accounts
- Click on your name in the left-hand menu to open your profile settings.
- Locate the tab labeled Third-Party Apps.
- Find the SmartVault integration under the Document Management Systems section.
- Connect or Manage Your SmartVault Account.
- If you have not connected SmartVault, follow the instructions provided in the article or follow the on-screen prompts to complete the connection.
- If you have previously connected SmartVault, you may need to disconnect and reconnect it. Use the instructions provided in the article or follow the on-screen steps.
- Click on the vertical ellipsis (⋮) inside to the SmartVault integration box, and select Manage Account Links.
- Click the Sync Accounts button to begin the syncing process.
- A message will appear stating, "Syncing Accounts from SmartVault." This process may take up to 10 seconds for the majority of your accounts to sync. If necessary, refresh the page to update any new changes.
- Once synced, a table will display:
- The first column will list your SmartVault accounts.
- The second column will show your Liscio accounts.
- Accounts with identical names will automatically be linked between Liscio and SmartVault.
- If some accounts do not auto-link, you can manually link them. Click the edit icon next to an account to manually select the appropriate Liscio account, even if the names differ.
- Click the Save button to confirm the link.
- To use the linked Account feature, navigate to the specific linked Account and either export files to SmartVault or Import files from SmartVault. When you open the SmartVault integration from inside the Account that's linked, it will bring up the linked SmartVault folder instantly, rather than start you at the bottom of the SmartVault folder tree.
Attaching SmartVault Files:
- Click +Add New and choose Message, Task, or eDoc.
- When creating a new Message, Task or eDoc, navigate to Attachments below the description box, where you will see Drop Files to Attach, LiscioVault or Browse.
- Click Browse.
- In the Upload File pop-up, click OneDrive and then SmartVault to attach your SmartVault files.
Exporting Individual Files directly into SmartVault:
- In Liscio, locate the File you wish to export to SmartVault.
- Click to open the File.
- Click the
icon.
- Select SmartVault as the Destination.
- Navigate through your SmartVault Directory until you locate the folder you wish the file to be exported to.
- Click Export Files.
Exporting Multiple Files directly into SmartVault:
- In Liscio, navigate to the Files page.
- Use the checkboxes to select the Files you wish to Export to SmartVault.
- Scroll to the bottom of the screen and select the
icon located in the Icon Tray.
- Select SmartVault as the Destination.
- Navigate through your SmartVault Directory until you locate the folder you wish the files to be exported to.
- Click Export Files.
If you need assistance with SmartVault, please visit the SmartVault Help Center for their Knowledge Base and Customer Support.
Contact Us
Related Articles
Trusted Domains
Liscio empowers Firm Admins to manage which domains their firm can connect to Third Party Apps. This feature helps prevent unauthorized connections by allowing only approved domains. Setting Up Trusted Domains Accessing Preferences From the ...QuickBooks Integration: Syncing Records
After you have set up your QuickBooks integration, you can begin syncing your records. You should run a new sync any time you create a new Account or Customer and need to link those records. Syncs can be done automatically or manually. Automatic ...QuickBooks Integration: Creating New Records
You can create and link new records in QuickBooks or Liscio directly from the Liscio integrations page. In Liscio, only Firm Admins have this ability. Click the ellipses (three dots) in the lower-left corner, then Admin, then Integrations. Under the ...Setting Up Outlook 365 & Gmail Integration
Cut back on all the noise while creating visibility across the firm with the Liscio Email Integration. View and respond to client emails inside Liscio, automatically and manually add client emails to Contacts and Accounts, bridge the adoption gap for ...Intuit Practice Management Integration: Set Up
Before you can set up the Intuit Practice Management integration in Liscio, Liscio Support will first need to enable Intuit Practice Management in your Liscio account. Please reach out to support@liscio.me to have this done. Caution - Do not sync ...